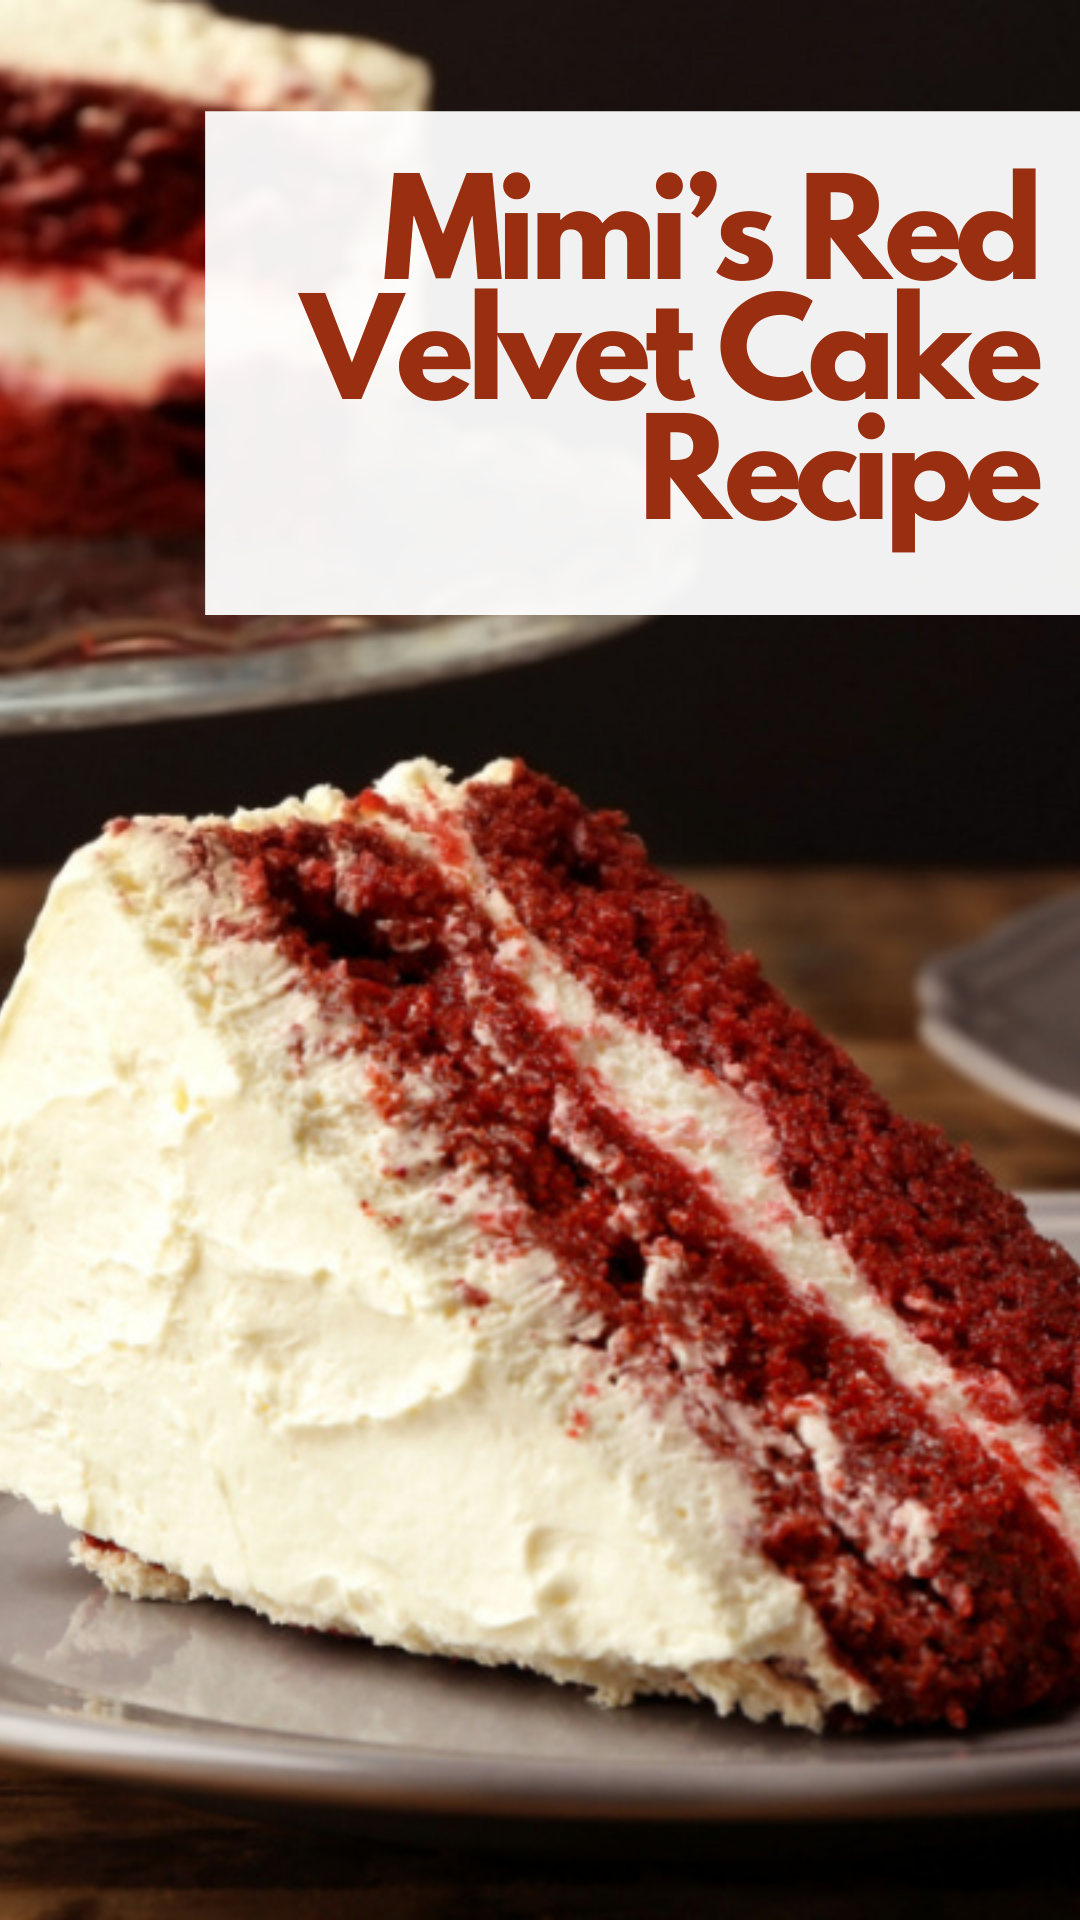
Savor Mimi’s Red Velvet Cake, which is rich and velvety! This traditional Southern dessert has the ideal balance of soft cake layers, tart cream cheese icing, and subtle cocoa notes. Mimi’s Red Velvet Cake will definitely fulfill your sweet tooth, whether it’s for a special event or just a satisfying dessert yearning.
Tasting Notes
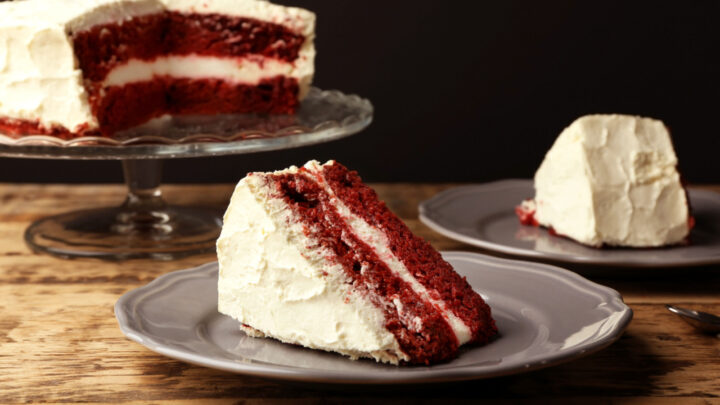
Mimi’s Red Velvet Cake offers a heavenly combination of textures and flavors. The moist and tender cake layers boast a subtle cocoa undertone, while the luscious cream cheese frosting adds a delightful tanginess. The striking red hue makes it a visually appealing treat that’s as enjoyable to eat as it is to look at.
Ingredients
For the Cake:
- 2 1/2 cups all-purpose flour
- 1 1/2 cups granulated sugar
- 1 teaspoon baking powder
- 1 teaspoon baking soda
- 1/2 teaspoon salt
- 2 tablespoons cocoa powder
- 1 1/2 cups vegetable oil
- 1 cup buttermilk, room temperature
- 2 large eggs, room temperature
- 2 tablespoons red food coloring
- 1 teaspoon vanilla extract
- 1 teaspoon white vinegar
For the Cream Cheese Frosting:
- 16 ounces cream cheese, softened
- 1 cup unsalted butter, softened
- 4 cups powdered sugar
- 1 teaspoon vanilla extract
Kitchen Equipment
- Two 9-inch round cake pans
- Parchment paper
- Mixing bowls
- Electric mixer
- Cooling rack
- Offset spatula
Instructions
- Preheat your oven to 350°F (175°C). Grease and flour the cake pans, and line the bottoms with parchment paper for easy removal.
- In a large mixing bowl, whisk together the flour, sugar, baking powder, baking soda, salt, and cocoa powder.
- In a separate bowl, combine the vegetable oil, buttermilk, eggs, red food coloring, vanilla extract, and white vinegar. Mix well.
- Gradually add the wet ingredients to the dry ingredients, mixing until just combined. Be careful not to overmix.
- Divide the batter evenly between the prepared cake pans. Smooth the tops with an offset spatula.
- Bake in the preheated oven for 25-30 minutes or until a toothpick inserted into the center comes out clean. Allow the cakes to cool in the pans for 10 minutes, then transfer them to a cooling rack to cool completely.
- For the cream cheese frosting, beat together the cream cheese, butter, powdered sugar, and vanilla extract until smooth and creamy.
- Once the cakes are completely cool, spread a layer of cream cheese frosting on top of one cake layer. Place the second layer on top and frost the entire cake with the remaining cream cheese frosting.
- Optional: Decorate with additional red velvet crumbs or chocolate shavings.
Pro Tips
- Ensure all ingredients are at room temperature for a smoother batter and better texture.
- Use gel food coloring for a more vibrant red hue.
- To make buttermilk at home, mix 1 cup of milk with 1 tablespoon of white vinegar or lemon juice and let it sit for 5 minutes.
Variations
- Add chopped pecans or walnuts to the cake batter for a nutty crunch.
- Incorporate a layer of raspberry or strawberry preserves between the cake layers for a fruity twist.
- Experiment with different extracts in the cream cheese frosting, such as almond or lemon, for unique flavor profiles.
FAQs
Can I make this cake ahead of time?
Yes, you can bake the cake layers in advance and store them in the freezer. Just thaw them before frosting.
How do I store leftovers?
Store the cake in the refrigerator due to the cream cheese frosting. Cover it to prevent drying out.
Can I use natural cocoa powder instead of Dutch-processed?
Yes, but be aware that it may affect the color and taste slightly. Dutch-processed cocoa is recommended for a deeper red hue.
Yield: One 9-inch round cake, approximately 12 slices.
Mimi's Red Velvet Cake
Ingredients
For the Cake:
- 2 1/2 cups all-purpose flour
- 1 1/2 cups granulated sugar
- 1 teaspoon baking powder
- 1 teaspoon baking soda
- 1/2 teaspoon salt
- 2 tablespoons cocoa powder
- 1 1/2 cups vegetable oil
- 1 cup buttermilk, room temperature
- 2 large eggs, room temperature
- 2 tablespoons red food coloring
- 1 teaspoon vanilla extract
- 1 teaspoon white vinegar
For the Cream Cheese Frosting:
- 16 ounces cream cheese, softened
- 1 cup unsalted butter, softened
- 4 cups powdered sugar
- 1 teaspoon vanilla extract
Instructions
- Preheat your oven to 350°F (175°C). Grease and flour the cake pans, and line the bottoms with parchment paper for easy removal.
- In a large mixing bowl, whisk together the flour, sugar, baking powder, baking soda, salt, and cocoa powder.
- In a separate bowl, combine the vegetable oil, buttermilk, eggs, red food coloring, vanilla extract, and white vinegar. Mix well.
- Gradually add the wet ingredients to the dry ingredients, mixing until just combined. Be careful not to overmix.
- Divide the batter evenly between the prepared cake pans. Smooth the tops with an offset spatula.
- Bake in the preheated oven for 25-30 minutes or until a toothpick inserted into the center comes out clean. Allow the cakes to cool in the pans for 10 minutes, then transfer them to a cooling rack to cool completely.
- For the cream cheese frosting, beat together the cream cheese, butter, powdered sugar, and vanilla extract until smooth and creamy.
- Once the cakes are completely cool, spread a layer of cream cheese frosting on top of one cake layer. Place the second layer on top and frost the entire cake with the remaining cream cheese frosting.
- Optional: Decorate with additional red velvet crumbs or chocolate shavings.
Nutrition Information:
Yield:
One 9-inch round cake, approximately 12 slices.Amount Per Serving: Calories: 450Total Fat: 28gSaturated Fat: 12gCholesterol: 80mgSodium: 300mgCarbohydrates: 45gFiber: 1gSugar: 32gProtein: 5g

GIPHY App Key not set. Please check settings